

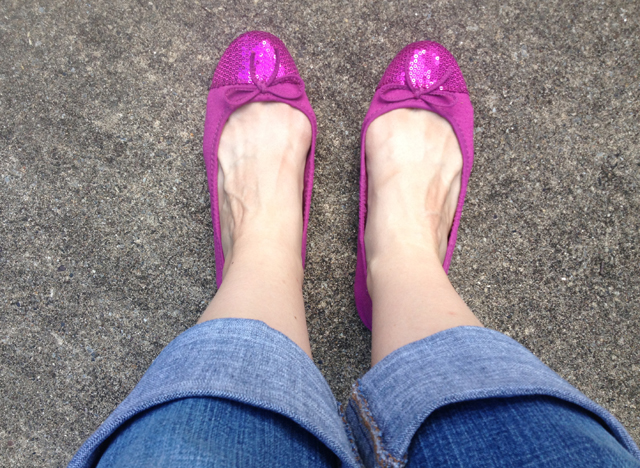
Have you ever hosted a party with a dress code? I have! For Magen’s 10th birthday party earlier this summer, the invitations specified what the attendees should wear: anything sparkly! Because what girl doesn’t love sparkles? I even got in on the sparkly action with some sequin shoes that I bought on extreme clearance a few years ago… just in case I ever needed them.
The sparkle theme was inspired by a sheet of holographic foam core that Magen wanted me to use for her double-digit birthday photoshoot. Two years ago, I started a tradition of cutting out giant numbers to use for a birthday photoshoot, and this year’s was the easiest, because I didn’t even have to paint the numbers. (Here are the amateur 8, the greatly-improved 9, and Hayden’s soon-to-be-retired six.) The main photoshoot was with the birthday girl and her friends, but unfortunately I can’t post them here, so you’ll have to use your imagination.

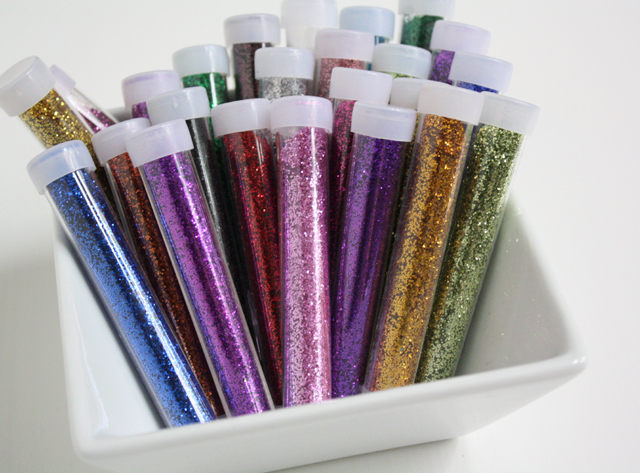
Instead of games, this year we did sparkly crafts with sequins and glitter. I’m not sure if that makes me brave or crazy, but I’m very glad we didn’t have any glitter mishaps!
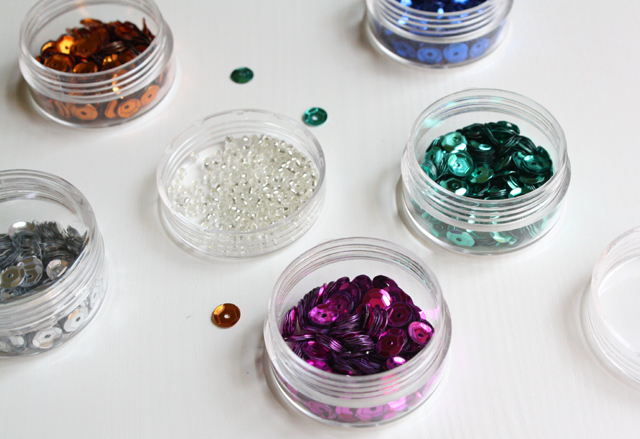
Each girl designed and stitched her own framed sequin art. I bought a bunch of small black picture frames from Target and cut sheets of white craft foam to size. The girls used colorful sequins and clear seed beads to decorate their foam, attaching them with thread and a beading needle. Perhaps someday I’ll write up a good tutorial, but basically the thread comes up through the sequin and the bead, and then goes out over the edge/side of the bead and back down through the sequin. It’s more complicated than gluing the sequins on, but it holds them in place very securely — and the beads give it some extra dimension. This is the sample I made for the girls. It’s not perfect, but you get the idea.

The glass is behind the foam, so the frame can easily be used for a photograph again when we get tired of the sequins… or more likely, when she’s no longer ten years old.
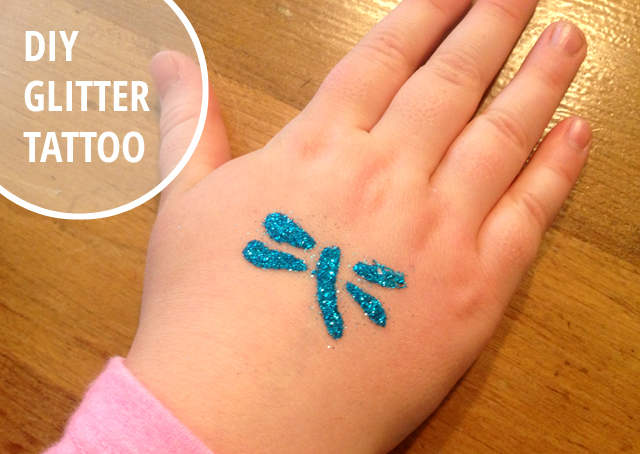
The girls also made their own glitter tattoos inspired by this tutorial. They cut their own stencils out of contact paper and adhered the stencil to their skin. I then brushed on Elmer’s glue with a paintbrush, removed the stencil, and sprinkled the glitter onto the glue. So cute!
I love that Magen always wants angel food cake for her birthday, because it’s so easy to decorate! I made a little bunting out of shiny foil wrapping paper that I bought at the dollar store and added 10 tall, glittery sparkler candles.
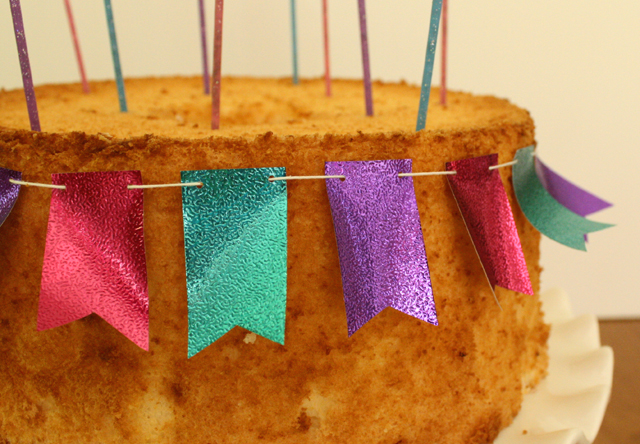
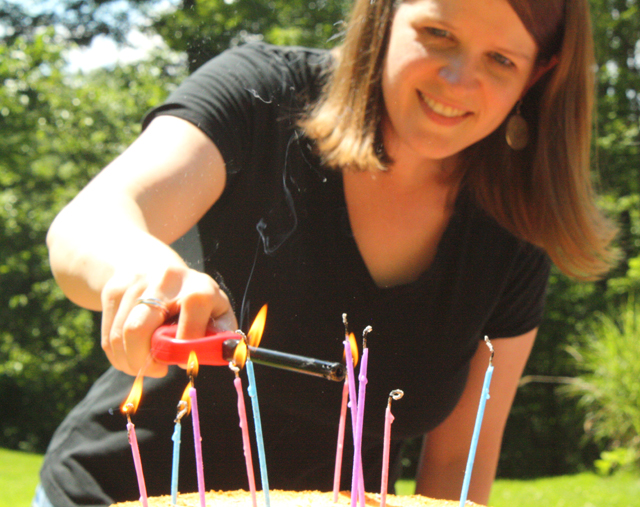
Sparkler candles are tricky! Due to the fumes, it’s best to use them outside, but then the wind is a problem!
The shiny paper that you saw on the invitations and the cake bunting also made fun colorful labels for the water bottles. I removed the original labels and attached my new labels with clear packing tape. Excessive? Maybe. But the girls even took their water bottles home with them at the end of the party, so I’m pretty sure they loved it.

And of course, no sparkly party is complete without sparklers! It was daytime, so the sparklers didn’t have the same visual effect as they would have had at night, but the girls had fun lighting the sparklers in the middle so that they burned in both directions!
I considered having a water balloon fight with a bit of glitter inside each water balloon, but decided against it for two reasons — (1) it’s a lot of work and (2) the glitter that would have stuck to the girls’ clothes would have ended up in our house and in their parents’ cars. Maybe someday!
Do you have any favorite ideas for sparkly crafts? We have lots of glitter and sequins left over, so I would love to hear your ideas!


 Hi! I'm Rachel, and I'm so glad you're here. I make creative projects and intentional choices to create a life I love -- and I hope to inspire you to do the same!

I’m glad you posted the water bottles. I’ve recently bought a lot of new musical equipment (microphones, specialty cords, etc) and was looking online for an easy way to label them. Depending on the item, I can adjust the type size (and even tape size) to wrap around irregularly-sized items. Thanks!